What Chainsaw Chain Do I Need: A Practical Guide
Learn how to choose the right chainsaw chain by matching pitch, gauge, and drive links. This buying guide from Chainsaw Manual covers specs, compatibility checks, and installation for safe DIY cutting.

Why chain compatibility matters
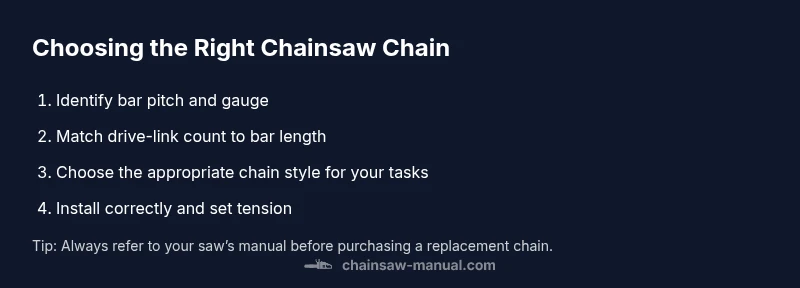
When you pick a chainsaw chain, you are choosing more than a blade; you are choosing how safely and efficiently your saw cuts. The wrong chain can cause increased vibration, poor cutting performance, and accelerated bar wear. If you wonder what chainsaw chain do i need, the answer starts with compatibility: pitch, gauge, and drive-link count must align with your bar and sprocket. According to Chainsaw Manual, matching these three specs is the foundation for safe operation and predictable results. Beyond fit, consider the task at hand and the chain’s style: general purpose, low-kickback, or heavy-duty cutting each has pros and cons for different wood densities and conditions. This article walks you through a step-by-step method to determine your ideal chain, how to verify measurements on your specific saw, and how to install and maintain it so you stay productive without compromising safety. It’s about knowing the numbers and applying good practices rather than guessing.
Core specs: pitch, gauge, and drive links
Understanding the three core specs is essential before you buy or install a new chain. Pitch determines how the chain engages the sprocket teeth; gauge is the width of the drive link that sits in the bar groove; drive links define how many contacts ride along the bar. A mismatch in any of these can cause sluggish cutting, increased wear, or dangerous kickback. When you assess your saw, you must verify that the chain’s pitch matches the sprocket and that the drive links fit the bar groove snugly. If you’re unsure, start with the bar stamping or owner’s manual, then cross-check with the chain packaging. The result should be a quiet, smooth cut with minimal vibration, not resistance or chatter.
How to identify your bar specs today
Your bar holds the clues for the right chain. Look for stamped numbers on the bar heel or the bar face showing pitch and gauge, or remove the bar cover to inspect directly. If stamps aren’t visible, measure the groove width with a chain gauge and count the drive links per inch to infer pitch. Common standards include options like 0.325
- note: break in thought
How to read pitch and gauge accurately
Pitch is the distance between rivets, often expressed in fractional inches or decimal form (e.g., 3/8
.325
). Gauge is the drive-link width in thousandths of an inch. To avoid costly mistakes, use a dedicated pitch gauge and a drive-link gauge plate and compare with the bar’s markings. Always double-check by aligning the chain on the bar to confirm the teeth point in the proper direction. If a mismatch is found, stop and reassess your options before buying.
Matching chain style to your tasks
Different tasks call for different chain styles. General purpose chains offer a balanced performance for mixed wood and everyday use; low-kickback variants reduce kickback but may cut more slowly in tough hardwoods. For professional or heavy timber work, a rugged chain with robust tooth geometry can improve reliability, but ensure your bar, sprocket, and engine can handle the load. Consider wood species, moisture content, and typical cut depth when selecting a chain style.
How to verify compatibility with your bar and sprocket
After identifying pitch and gauge, confirm drive-link count and overall chain length so it seats correctly on the bar. A chain that’s too short can derail; one that’s too long can bind or sit high in the groove. Inspect the bar groove for nicks that could snag the chain and wear on the sprocket teeth. If the sprocket isn’t compatible with the new chain’s pitch, you may need a sprocket replacement to maintain proper engagement and tension.
Tools and measurements you’ll need
Prepare a dedicated chain pitch gauge, a drive-link gauge, a ruler or caliper, a screwdriver, a scrench or wrench, and personal protective equipment (PPE) like gloves and eye protection. A clean workspace helps prevent lost parts and mistakes. If possible, have a spare bar and chain on hand for reference during the selection process. Labeling and organizing your parts pays off for future maintenance.
Step-by-step installation and safety checks
Begin by ensuring the saw is powered off and immobilized, then remove the bar cover. Align the new chain with the bar groove and ensure the teeth point in the correct cutting direction. Re-seat the chain on the bar and around the drive sprocket, then reattach the bar cover and snug the nuts. Check the tension so the chain is snug but not tight, then perform a quick test on a scrap piece of wood. Only proceed if the test cut feels smooth and controlled.
Maintenance tips to extend chain life
Keep the chain sharp and well-lubricated with proper bar oil. Clean the bar groove and sprocket area after use to remove sawdust and debris that can cause misfeeds. Replace worn chains promptly to avoid damaging the bar or engine. Store chains dry and clean, and label them with purchase and replacement dates to simplify future planning.
Final decision guide and quick checks
When you finish, re-check chain tension and alignment before each use. Confirm that pitch, gauge, and drive-link count match your bar and sprocket. If anything feels odd—excess vibration, unusual sounds, or poor cutting performance—revisit your specs and consider re-measuring or consulting the saw’s manual. A well-matched chain yields safer cuts and longer tool life.