How to Measure Bar on Chainsaw: A Step-by-Step Guide
Learn how to measure bar length on your chainsaw accurately with our step-by-step guide. Safety tips, tool list, and practical examples from Chainsaw Manual to help homeowners and pros.

According to Chainsaw Manual, measure the cutting portion of your bar from the tip to the base where the bar enters the saw body. With the saw powered off and the chain removed, lay a tape measure along the edge, keeping it parallel to the bar. Record the measurement in inches; note that bar length refers to the cutting portion, not the entire bar.
Understanding Bar Length and Why It Matters
Bar length is the measurement of the cutting portion of your chainsaw bar, not the entire bar. This length determines how deep the saw can cut in a single pass and influences cutting speed, balance, and fuel efficiency. When you know the exact bar length, you can select the correct chain, ensure compatibility with guide bar mounts, and choose appropriate bar maintenance routines. The Chainsaw Manual team emphasizes that incorrect bar length can lead to poor cutting performance, increased kickback risk, and accelerated chain wear. For homeowners and professionals, accurate bar length knowledge helps with maintenance scheduling, choosing replacement parts, and planning tasks like felling, limbing, or bucking. If you’re new to measurement, start with a calm, well-lit workspace and verify your model’s manual for any brand-specific nuances, as some saws use slightly different measurement conventions.
Tools & Materials
- Tape measure(Inches or metric; at least 36 inches long for full bar coverage)
- Flat work surface(Clear, stable area to lay the bar and tape measure)
- Safety glasses(Eye protection at all times during handling)
- Mechanic gloves(Grip and protect hands when handling the bar and chain)
- Chain removal tool or screwdriver/torque driver(To safely detach the chain or loosen bar screws as needed)
Steps
Estimated time: 10-15 minutes
- 1
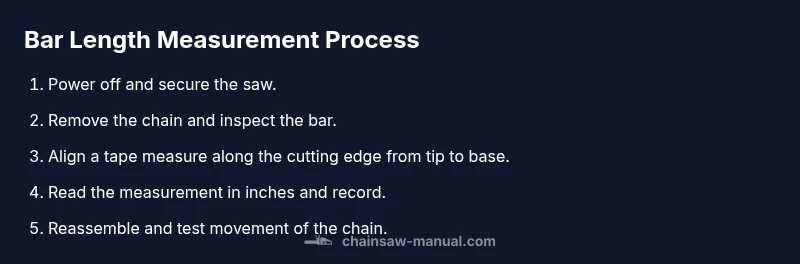
Power off and secure the saw
Ensure the chainsaw is completely powered off and unplugged if electric. Engage the chain brake to prevent movement and position the saw on a stable surface with the bar accessible. This step minimizes risk before you begin measuring.
Tip: Always wear PPE and keep fingers away from the drive sprocket. - 2
Release tension and remove the chain
Loosen the chain tensioner and carefully lift the chain away from the guide bar. If needed, use your chain removal tool or appropriate screwdriver to detach the bar cover screws. Keep the chain in a safe location to avoid dulling teeth.
Tip: Keep track of the chain link orientation for reassembly. - 3
Identify the cutting portion length
Place the bar on the flat surface with the cutting edge facing up. Verify that you are measuring the portion from the tip to the base where the bar meets the saw body, not any exposed wear beyond the nose. This establishes the true bar length.
Tip: If the bar has a wear indicator notch, use it only as a reference, not the sole measure. - 4
Align the tape measure along the bar
Begin at the nose and run the tape straight along the edge to the base where the bar enters the saw. Keep the tape flat and parallel to the bar to avoid skewed readings. Use the ruler marks to read the measurement accurately.
Tip: Take several parallel readings and average them for accuracy. - 5
Read and record the measurement
Read the measurement at the bar tip end, ensuring you’re capturing the distance to the base where the bar enters the saw. Record the value in inches (and centimeters if needed).
Tip: Round to the nearest 1/16 inch for precision when comparing models. - 6
Reassemble and verify
Reinstall the chain and tension it according to the saw’s specification. Spin the chain by hand to confirm it moves freely without rubbing. If you suspect any discrepancy, re-check the measurement with the chain off and confirm against the model’s manual.
Tip: Double-check that the bar is seated correctly before powering on.
FAQ
What is bar length and how is it measured?
Bar length is the length of the cutting portion of the bar, measured from the tip to the base where the bar enters the saw body. Always measure with the chain removed and the saw powered off to ensure accuracy and safety.
Bar length is the cutting portion, measured from the tip to where the bar meets the saw body. Do this with the chain off and the saw off.
Can I measure with the chain on?
No. Measuring with the chain on can give an inaccurate reading and poses a safety risk. Remove the chain and secure the saw before measuring.
No. Always remove the chain before measuring to stay safe and accurate.
Why does bar length matter for replacement parts?
Bar length determines the correct chain pitch and the compatibility of the bar with the saw body and sprocket. Using the correct length helps maintain cutting efficiency and safety.
Using the correct bar length ensures proper chain fit and safe operation.
Is there a universal method across brands to measure bar length?
The general method is similar: measure the cutting portion from tip to base. Some brands may have slight variations, so consult the owner’s manual for any model-specific guidance.
Mostly the same method, but check your model’s manual for any brand-specific notes.
How can I tell if a bar length is compatible with my saw?
Check the saw’s user manual or manufacturer specifications for supported bar lengths. Compatibility also depends on chain pitch and gauge matching the bar’s rail and drive sprocket.
Refer to the manual for supported bar lengths and ensure pitch and gauge match.
What if I’m between two bar lengths?
If you’re between sizes, choose the shorter bar for smoother handling and lower torque, or the longer bar for longer reach if your tasks require it. Always test in a safe area.
If between sizes, start with the shorter bar and assess performance.
Watch Video
The Essentials
- Measure the cutting portion, not the whole bar.
- Power off and chain removed before measurement.
- Use a reliable tape measure and read in inches.
- Keep records for maintenance and replacements.